- Published on
Test driven API documentation with Spring REST Docs
Create a Spring Boot project
Let's start by creating a new Spring Boot project with Spring REST Docs dependency, we will use the Spring Initializr to generate the project:
curl -G https://start.spring.io/starter.tgz \
  -d dependencies=restdocs,web \
  -d type=gradle-project \
  -d baseDir=hello-restdoc \
  -d javaVersion=17 \
  -d language=java \
  -d platformVersion=3.4.0 \
  -d groupId=me.kezhenxu94 \
  -d artifactId=demo \
  -d name=demo \
  -d packageName=me.kezhenxu94.demo | tar -zxvf -
And you will get a new Spring Boot project in the directory hello-restdoc, now open the hello-restdoc project in your favorite IDE.
Add a simple REST controller
For simplicity, we will add a simple REST controller that provides a simple API to get a greeting message, create a new file src/main/java/me/kezhenxu94/demo/GreetingController.java:
package me.kezhenxu94.demo;

import org.springframework.web.bind.annotation.GetMapping;
import org.springframework.web.bind.annotation.RequestMapping;
import org.springframework.web.bind.annotation.RequestParam;
import org.springframework.web.bind.annotation.RestController;

@RestController
@RequestMapping("/greeting")
public class GreetingController {
  @GetMapping("/hello")
  GreetingResponse hello(@RequestParam final String name) {
    return new GreetingResponse(String.format("Hello, %s!", name));
  }

  public record GreetingResponse(String message) {
  }
}
Now let's start the application and send a request with curl to make sure the API is working:
./gradlew bootRun
Open a new terminal, and send a request to the API:
curl http://localhost:8080/greeting/hello?name=kezhenxu94
{"message":"Hello, kezhenxu94!"}
Add a test for the REST controller
Now that the API is working as expected, we would like to add a test case for this API, and whenever the API changes, we would like to make sure the test case is updated accordingly, or fail the build if the test case is not updated.
package me.kezhenxu94.demo;

import static org.springframework.restdocs.mockmvc.RestDocumentationRequestBuilders.get;
import static org.springframework.test.web.servlet.result.MockMvcResultMatchers.jsonPath;
import static org.springframework.test.web.servlet.result.MockMvcResultMatchers.status;

import org.junit.jupiter.api.Test;
import org.springframework.beans.factory.annotation.Autowired;
import org.springframework.boot.test.autoconfigure.web.servlet.AutoConfigureMockMvc;
import org.springframework.boot.test.context.SpringBootTest;
import org.springframework.test.web.servlet.MockMvc;

@SpringBootTest
@AutoConfigureMockMvc
public class GreetingControllerTest {
  @Autowired
  MockMvc mockMvc;

  @Test
  void testGreetings() throws Exception {
    mockMvc.perform(get("/greeting/hello").param("name", "World"))
        .andExpect(status().isOk())
        .andExpect(jsonPath("$.message").value("Hello, World!"));
  }
}
Run the test case with ./gradlew test, and you should see the test case is passed.
Generate documentation from the test result
In the last step, we are using mockMvc to test the API, and we can even generate documentation from the test, let's add the following code to the test case:
@SpringBootTest
@AutoConfigureMockMvc
@AutoConfigureRestDocs
public class GreetingControllerTest {
  @Autowired
  MockMvc mockMvc;

  @Test
  void testGreetings() throws Exception {
    mockMvc.perform(get("/greeting/hello").param("name", "World"))
        .andExpect(status().isOk())
        .andExpect(jsonPath("$.message").value("Hello, World!"))
        .andDo(
            document("greeting/hello",
                queryParameters(parameterWithName("name").description("The name to greet.")),
                responseFields(fieldWithPath("message").description("The greeting message"))));
  }
}
At line 3, we added the @AutoConfigureRestDocs annotation to enable the Spring REST Docs support, and at line 13-16, we added the document method to generate the documentation from the test result, after running the test with ./gradlew test, you should see a new directory build/generated-snippets is generated, and you can find some snippets in the directory:
build/generated-snippets
build/generated-snippets/greeting
build/generated-snippets/greeting/hello
build/generated-snippets/greeting/hello/curl-request.adoc
build/generated-snippets/greeting/hello/http-request.adoc
build/generated-snippets/greeting/hello/request-body.adoc
build/generated-snippets/greeting/hello/http-response.adoc
build/generated-snippets/greeting/hello/response-body.adoc
build/generated-snippets/greeting/hello/httpie-request.adoc
build/generated-snippets/greeting/hello/response-fields.adoc
build/generated-snippets/greeting/hello/query-parameters.adoc
Compose the documentation
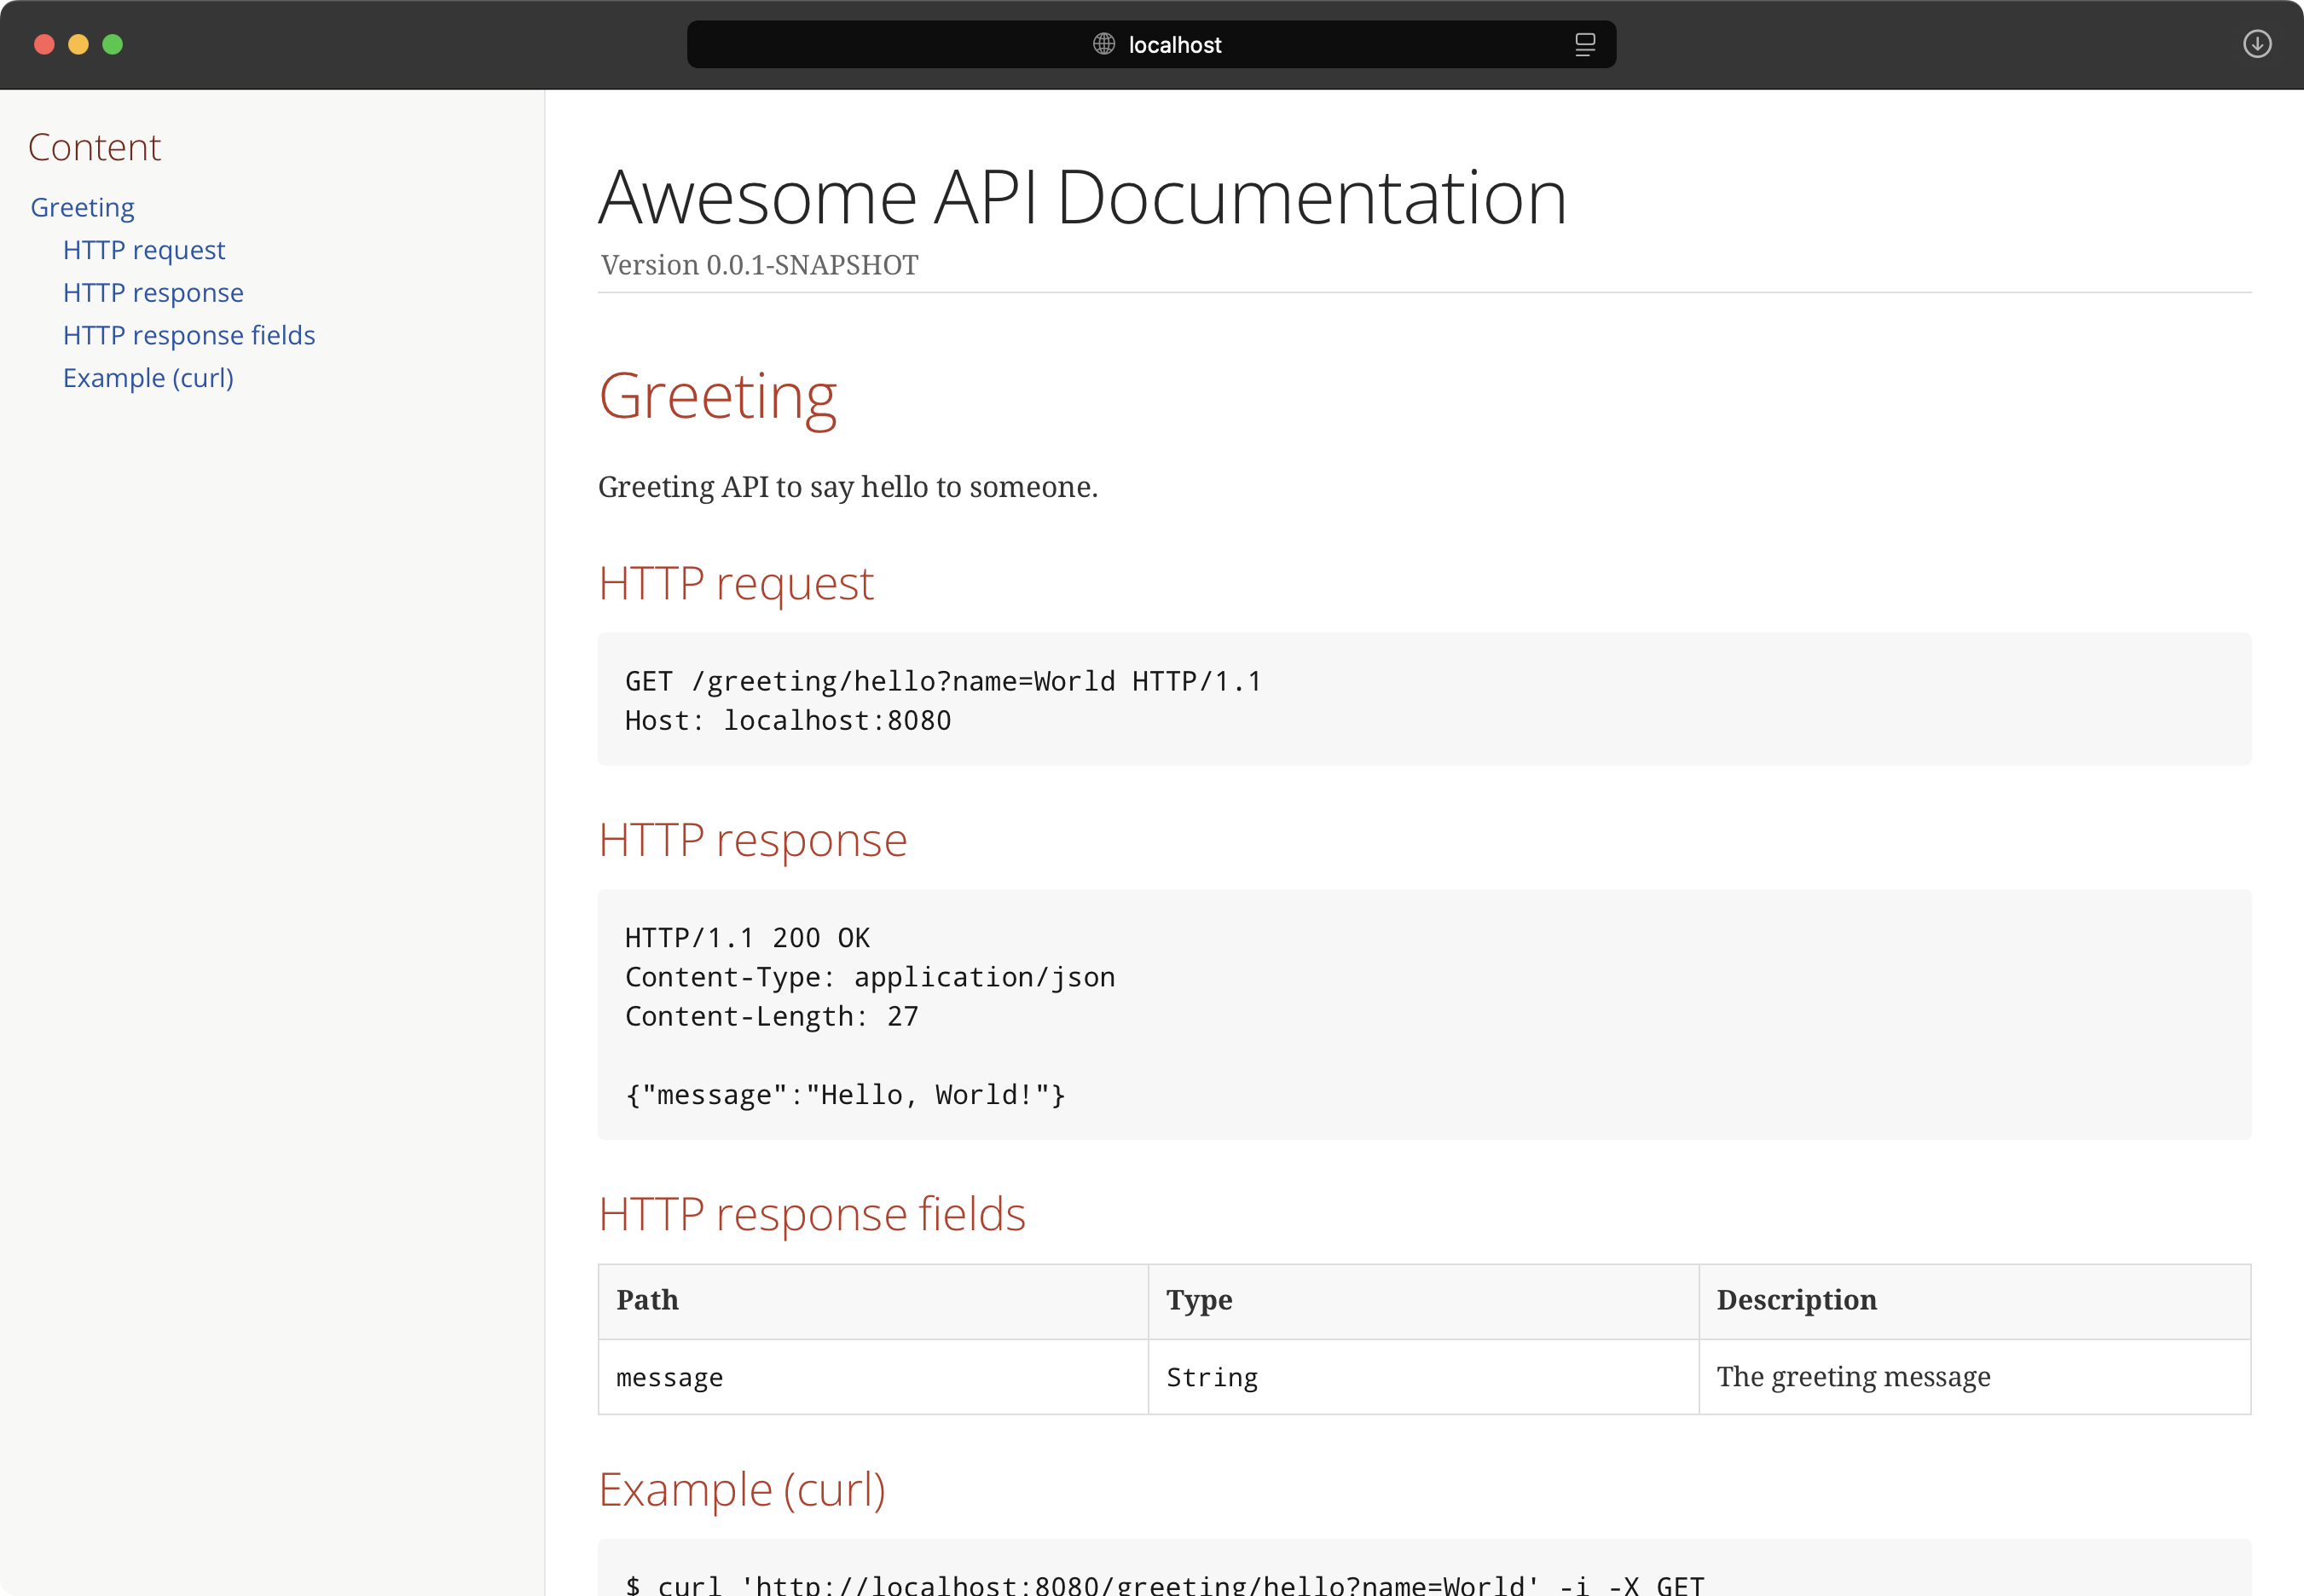
In the last step, we got the snippets for the API /greeting/hello, now we can compose the overall documentation from the snippets of all APIs of our application, let's create a new file src/docs/asciidoc/index.adoc:
= Awesome API Documentation
:toc: left
:toc-title: Content
:toclevels: 4
:sectlinks:
:docinfo: shared

ifndef::snippets[]
:snippets: build/generated-snippets
endif::[]

== Greeting

Greeting API to say hello to someone.

=== HTTP request

include::{snippets}/greeting/hello/http-request.adoc[]

=== HTTP response

include::{snippets}/greeting/hello/http-response.adoc[]

=== HTTP response fields

include::{snippets}/greeting/hello/response-fields.adoc[]

=== Example (curl)

include::{snippets}/greeting/hello/curl-request.adoc[]
If you have more APIs in your application, you can add more sections to the documentation, and include the snippets accordingly.
Serve the documentation
We can serve the API documentation along with the API itself, let's add the following code to the build.gradle:
// Add the following code to the end of the file
jar {
  dependsOn asciidoctor
  from("${asciidoctor.outputDir}") { into 'static/docs' }
}

bootJar {
  dependsOn asciidoctor
  from("${asciidoctor.outputDir}") { into 'static/docs' }
}
Because the asciidoctor plugin will generate a html file from the index.adoc file, we can bundle the index.html file into the Spring Boot jar file, and serve it with the Spring Boot application, in the code above, we added the jar and bootJar tasks to copy the generated documentation into the jar file.
And now we can build the application with ./gradlew build, and start the application with java -jar build/libs/demo-0.0.1-SNAPSHOT.jar, after the application started, you can access the documentation from the URL http://localhost:8080/docs/index.html.
